Just Another Heated Bed
Maybe I am remembering it incorrectly, but before I recently replaced the MDF bed of my Prusa, I used to be able to print without heating the bed surface before the print started. Perhaps it's because the wood is different, or some other change to my setup, but recently I have been having trouble getting that important first layer to go down right. A temporary solution was to use a hairdryer to blast the bed just as the first layer was going down - but this is loud and gets in the way of making sure the print starts out ok.
A recent forum post about using wall tiles as a base for a heated bed made me think about building one, but the power resistors I had were a bit too high (150Ω vs. 6.8Ω), Then I remembered I had a few lengths of NiChrome wire and some Aluminium sheet so I decided to embark on a weekend project to build a copy of the Mendel Bed described by Adrian Bowyer. What follows adds nothing to the original, detailed instructions, but another take on it won't hurt I guess.
The trickiest part for me was working out what the lengths of NiChrome should be, and how best to lay them out. For a bed temperature of 55°C Adrian's suggestion of 1.5Ω at 12v to produce ~100W sounded like the number to aim for. My multimeter told me that my 115cm length of NiChrome was 31Ω. So 1.5Ω would be 5.5cm - not much to cover a 25cm² bed, so of course we put a few in parallel. At this point I wasn't feeling too confident in my calculations and i'll admit to using this online calculator for checking the power and amperage given 12v and a given resistance. I decided that three wires should sufficiently cover the board, and so each wire should be 1.5Ω * 3 = 4.5Ω, resulting in each being ~17cm long.
(As it happened I got the calculations a little off on the day and ended up with a total resistance of 1.9Ω. This yields only 75W (6A) but in subsequent tests this seemed to warm the bed to 55°C adequately.)
Cutting the aluminium to size using a Dremel was interesting - holding it steady was a challenge, and it ate through a cut-off attachment pretty quickly. Still, a little work with a file and it was good enough. I used left over wire from an ATX PSU for connecting the NiChrome together and to the power socket, to be sure to handle the current. A spare thermistor was secured to the middle of the bed with Kapton tape.

The indicator LED was hooked up to a 1k resistor and soldered to a socket salvaged from an old Xerox printer. I had wired up the LED without thinking in series, and was later wondering during testing why the LED came on but the NiChrome wires were not getting even warm. Only after reviewing the circuit diagram Adrian had included in the original instructions did I realise it should (of course) be in parallel across the +12v and common wires of the socket.

The ATX PSU I am using can provide 17A over the 12v wires, so, as I have a Ramps 1.3 board, I decided to wire up both the 5A and the 11A power connectors. I then went ahead and gave it a test run.

ATX PSU
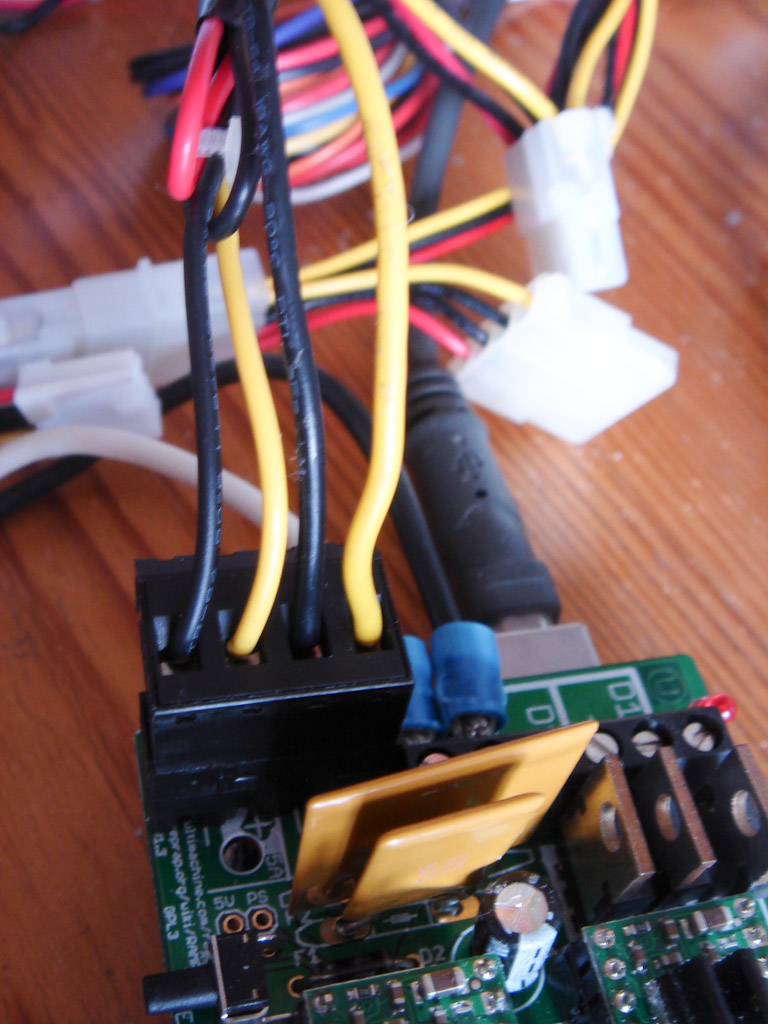
Ramps 1.3 Power - 11A and 5A Used
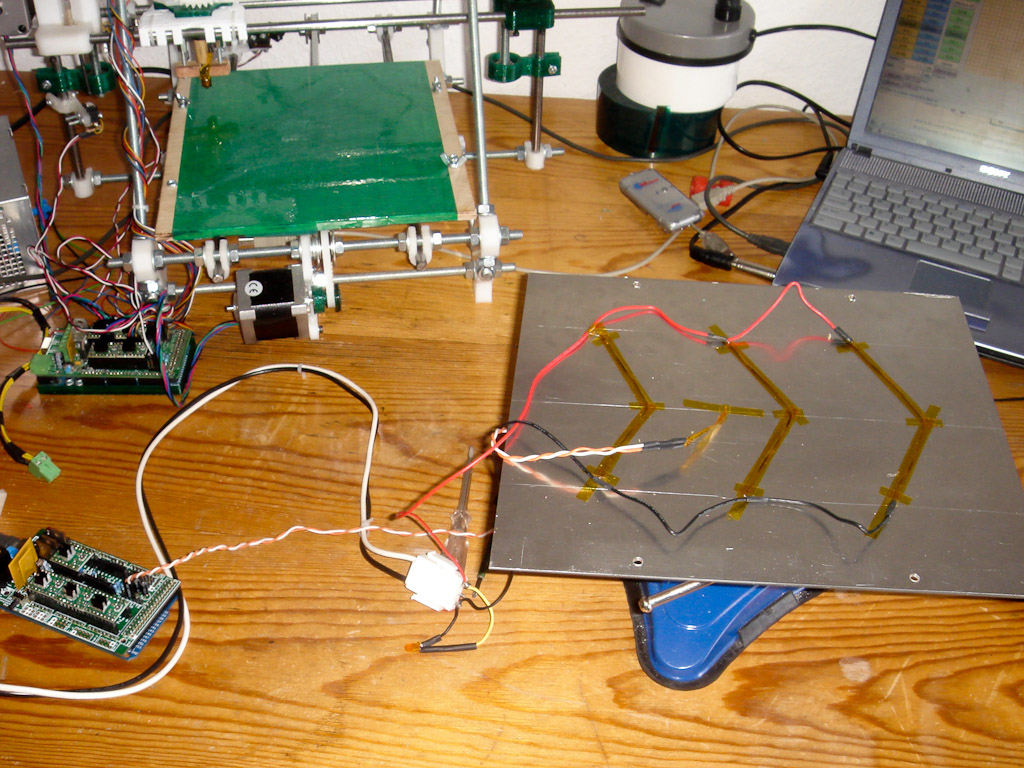
Testing
To attach the power connector to the aluminium I tried using oven sealant, which was the only heat resistant "glue" they had at my local DIY store. This worked initially, but quickly broke off during handling. I suspect the instructions to "fire the oven or chimney to full temperature to harden the sealant" really is necessary, or it didn't like the plastic of the connector (it stuck to the aluminium quite well). Regardless I fell back to trusty old Kapton tape.

Attempting to attach the connector with oven sealant
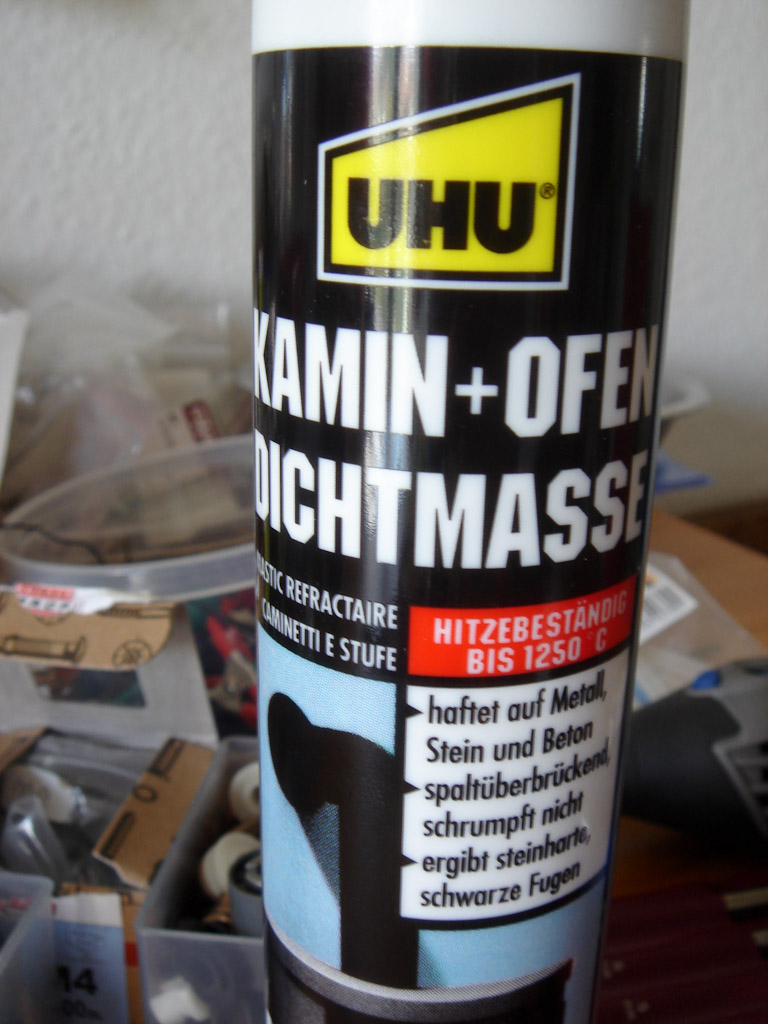
Oven Sealant - Good for 1250degC
To stop the wires dropping down, and to reflect some heat upwards I decided to cover the underside with baking foil, secured with PET tape.

As I didn't have any glass around to use on top of the bed I decided to print directly on the aluminium, but was a little surprised to find the PLA not adhering whatsoever. The extruder was at 185°C and the bed at a little under 50°C (according to my multimeter's temperature attachment). So I decided to lay some PET tape onto the bed (whilst it was still slightly warm) and subsequent prints came out very nice. No more annoying the wife blasting away with the hairdryer!
